Baofeng Uv 5b Software Companies
Baofeng uv-82hp high power dual band radio with tri-power (1, 4, 7 watt), unique firmware, and new options $ 75.99 $ 62.89 BAOFENG BF-F8HP 8-WATT DUAL BAND WALKIE TALKIE (136-174MHZ VHF & 400-520MHZ UHF) $ 75.00 $ 62.89. BAOFENG SQUELCH SOFTWARE MOD. Or commercial VHF and UHF radio channels, are generally set up for specific companies in a local geographic area. There are also a few business radio channels, called Business Itinerant, that are devoted to operation anywhere. 31 responses to “ Survival Channels for Baofeng Programming SHTF-HAM-FRS-PMR.
Baofeng Firmware Release - Miklor. Outdoors hunting camping SHTF GMRS radio communications antenna battery electronics scanners digital computer software hardware. Install USB Driver software. Install Baofeng BF5R UV_5R Radio Programming Software Step 3. Connect USB cable to your PC.
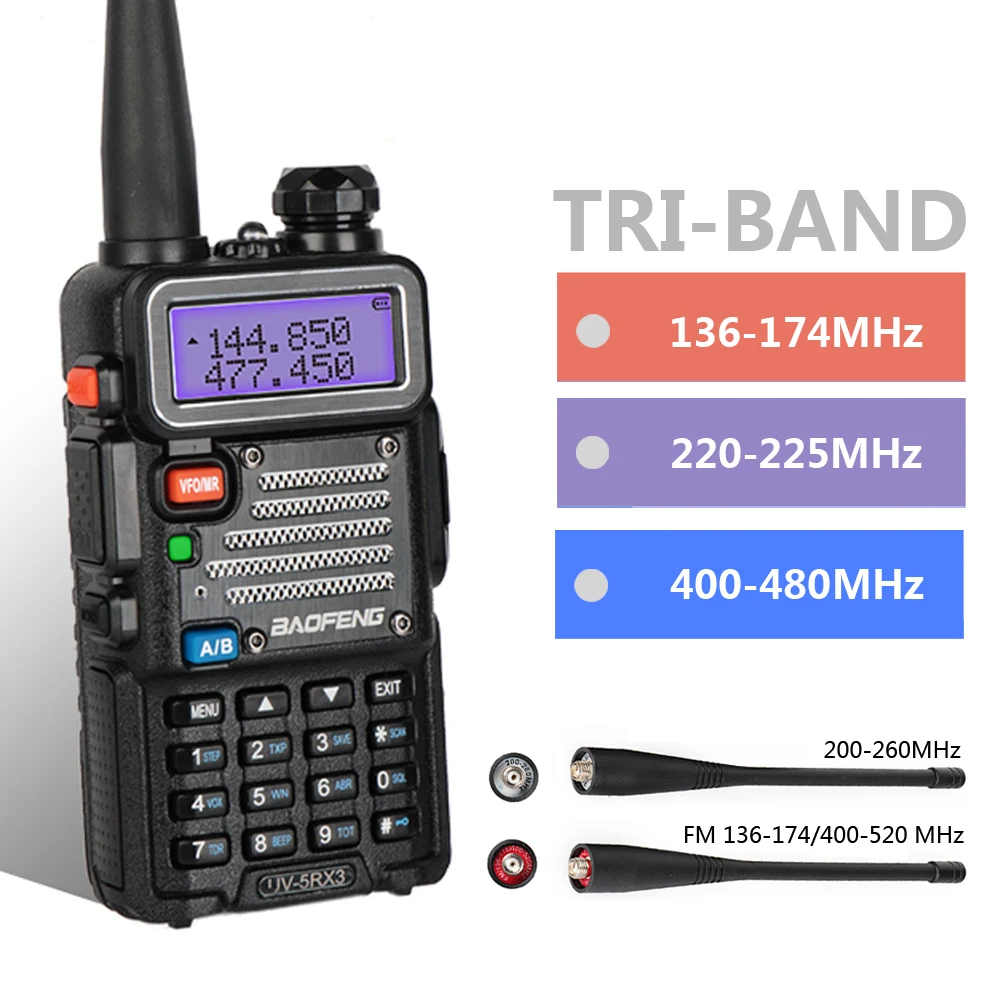
On the surface, it is your typical dual band 5W Chinese HT: 136 - 174 MHz and 400 - 470 MHz along with 65 - 108 MHz FM receive. Here are the links to the radios on the Baofeng site: and. Of note is the lack of the customary flashlight (for the UV-B5) and, perhaps more importantly, 2.5Khz steps.
You can get one at the for $53 (USD) along with many of the usual accessories (USB programming cable, serial programming cable, extra batteries or chargers) - no colors or AA/AAA battery packs yet. Give them time and I am sure they will show up. As you will find, the UV-B5 does not share the same form as the UV-5R, so you won't be able to share batteries or chargers. However, the programming cable from your UV-5R should work. A Yahoo Group has been started for the. Hans, in, says: 'For now this is the HT to compare others with – the receiver is at least as good as the Wouxun KG-UVD1P and outperforms the Quansheng TG-UV2.
Overloading is not impossible, but far from easy – almost unreal for an HT this price.' 'The Baofeng UV-B5 is close to perfect. The only two niggles are the 5-character limit for alphanumeric descriptions and the belt clip screws which are too short. For the rest: best value for money to date. Needless to say, I’m keeping this one.' Hans also points out that you can save a few dollars if you don't want the pretty box. I'm guessing price was not the biggest factor when Hans did his ' and ranked the ahead of the.
If price had been weighted heavily it looks like the UV-B5 might have been the winner. Lastly, he found some problems with the FM tuning and memories. He also reports the battery life, while not horrible, isn't great. And Ben got his hands on one. He's got here with lots of pictures.
He comments: 'The radio works excellent and the modulation is also good, not like some UV-5R types.I also think that the battery is more than enough capacity. This Baofeng UV B5 cost at the 409shop only 53 Dollar, which is in Euros (with the exchange rate of January 2013) € 41.75 including shipping.' : 'My overall assessment is that Baofeng has cleaned up the issues with the UV-5R (and don’t forget, I really like that radio!). The UV-B5 is a sweet little radio that will make a splash when it hits the US market.' Given my tardiness, the price, and the glowing reviews from the big name ham radio bloggers above, I'm surprised these things aren't the talk of the internet. The Yahoo group is of a modest size and Google searches don't reveal much beyond the links above. (I found, but there wasn't much meat to it.) Here is the best video I found.
(Best meaning the better of two.) So for now, I'm calling the UV-B5 the best kept secret in the world of Chinese radios! Anonymous There is an error in the UV-B5 user manual, regarding the function of the battery saving feature. The manual says that the activation of the battery saving feature reduces the TX power based on the strength of the last received signal (of GSM heritage, I suppose). Therefore, I deactivated it, just to note that the battery was lasting only a day on standby, with no TX or RX activity at all. I later measured the current draw from the battery on stand-by to be 70 mA with Battery save deactivated, and 20 mA (average) with the battery save activated in the menu. I have seen no effect on the TX power of the UV-B5, which draws 1.4 Amps on High TX power, and 700 mA on Low TX power.
With the FM receiver on, the UV-B5 draws 100 mA at low volume, and 200 mA at max audio volume. The display backlit LED draws 20 mA, and (on the UV-B6) the torch LED draws 30 mA. Hope this helps Anthony. Yes, it can not be beat for $30.
If You get 'good working radio' then it is good solution for playing around on VHF/UHF FM bands. The front-end is really not bad and compare to all other Bao's is even amazing! Design is beautiful and programming using the Profilic adapter cable and factory OEM s/w is easy. So the only problem is that as all chineese radios it is the 'wonder box' so You have to be prepared for not fully working radio or bugs in s/w etc. In some cases. I got UV-B6 (same as UV-B5 just LED flash light instead of rotary encoder installed on top) fully working and all seems to be as it should. See for complete information about it.
I can not recommend any kind of chineese radios in general but if You would like to play with something cheap then the only UV-B5/6 from Bao. Is the choice only.
Who We Are: We not only sell BaoFeng, but we have taken the time to improve BaoFeng for everyone. When you buy through BaoFeng Tech, you are supporting new radios and advancements from the affordable radio movement. From testing BaoFeng radios and fixing bugs to preparing the user's guide - we pay attention to every single detail. We are the only BaoFeng distributor who supports all of our products directly. We take pride in what we sell, we know our products, and we are licensed radio operators. We don't just market radios, but we believe in and use our radios!
Online Store
We will never sell you refurbished, re-manufactured, or faulty radios. If you ever have an issue, our Support team will get your radio repaired at no charge if purchased from us. We are the only BaoFeng radio center able and authorized to honor warranty claims in-house and free! FIRMWARE MATTERS: We have policies that ensure your radio includes the newest firmware. An example is air shipping, via UPS, all of our radios from manufacturing; we do not ship any radios or accessories by boat. Our firmware is months ahead of any other storefront.
Ok, this post is a bit off what I normally talk about, but I wanted to add it so I’d have a spot to point people back to, and more importantly be able to refer back to it myself.
Some of you may know I am an amateur “ham” radio operator, my call sign is N4IXT. As I’m also a “techie” I’m often asked to help people program their radios using the computer. There are a variety of hand held radios on the market. One of the most prolific manufacturers is a Chinese company who makes very inexpensive (some might even say cheap) radios marketed under the names of Baofeng and BTech. Another popular maker along these lines is Wouxun.
This post describes not only the steps to program, but to also install the software you’ll need to program these radios and others.
Installing Software and Drivers
The first thing you’ll need is the programming software itself. The software most people use is called CHIRP, available from https://chirp.danplanet.com/projects/chirp/wiki/Home. It has versions for Windows, Mac, and Linux, although for this article we are going to focus on Windows.
You’ll also need the cable for your model of radio. Sometimes the cable comes with the radio, other times you’ll need to purchase it separately. Now if you were like me, and installed CHIRP, plugged in the cable, and hooked it to your radio, you probably got a lot of error messages.
Inside the programming cable are some chips that help the computer talk to the radio. The company who originally created these chips was called Prolific. These Chinese companies cloned the chips and their code, indeed the cables even report to Windows that they are from Prolific.
Thus when you plug in the cable, it tells Windows “Hey I’m a Prolific cable”, and Windows goes out and downloads and installs the latest Prolific drives. Which is where the problems start.
Prolific was naturally a tad upset that someone had stolen their design, and who can blame them? So they started adding a special code to their newer chips, as well as an update to the drives so that if the chip isn’t an authentic chip from Prolific, the driver won’t work.
You can verify this for yourself. On Windows 10 just go to the Cortona search area (next to the Start menu) and type in Device Manager. (If you are on an older version of Windows you can open up Device Manager through the Administration panel).
Scroll down the list to the Ports area and you’ll see the Prolific driver listed. Note that it has a big yellow exclamation mark.
Right click on the Prolific driver and pick Properties.
Right in the middle under Device Status we see the problem: This device cannot start. (Code 10). While rather cryptic, what this really translates into is “Hey, we’re trying to use the Prolific driver, but it’s telling us this isn’t a Prolific device.”
This puts us in a bind, as we need to use the driver, but the latest version doesn’t work. The solution then is to install the most recent version that works. Fortunately someone has made that very easy to do.
Head over to iFamilySoftware at http://www.ifamilysoftware.com/news37.html and they have a detailed article describing the issue (which I’ve just briefly recapped here). In addition, they have a tiny program you can download and install that will uninstall the nonfunctional version of the Prolific driver, and install the last version that actually worked.
Even more important, their app will prevent Windows from automatically updating the driver in the future. Windows frequently will try to be “helpful” and scan your drivers and will go “oh look, you are running an older driver (in this case for Prolific), here let me update that for you automatically and not tell you”.
Note they have versions of their program for both the 32 and 64 bit versions of Windows, and it will run on Windows XP, 7, 8, 8.1, and 10. Just download and run, reboot, then return to Device Manager. Your Prolific driver should now appear without the exclamation mark, indicating it is now working. Right clicking and picking properties should now display “The device is working properly”.
Running Chirp
OK, so now you have CHIRP installed, and the correct version of Prolific, it’s time to load up your radio with frequencies. Open up CHIRP, then plug in your cable, and (with the radio off) plug it into your radio, and then turn the radio on.
CHIRP opens up with a big blank screen. Your first step will be to download what is currently in the radio, even if it’s a brand new radio with just the default handful of frequencies. This let’s CHIRP get a correct image of the radio type and what its current settings are.
Click on the Radio in the menus, then from the dropdown pick Radio, Download From Radio.
Next it wants to know what COM port the cable is using, who made the radio, and what model. If you aren’t sure of the COM port, go back to Device Manager using the previous instructions, and expand the Ports. At the very end of the driver name is the COM port it’s using, in parenthesis.
The first time you use CHIRP you’ll probably have to key in the COM port, just type COM3, COM4, or whatever it was.
I also want to add a quick note for eagle eyed viewers. I’m using two computers to write this article, one in which the Prolific drivers didn’t work, the second where it did. If you look back to the original image from the Device Manager you’ll note it read COM4 at the end. On the computer I took the above screen shot on, the computer where I have it working, Prolific is using COM3. Again you can use device manager, like I did, to determine what the correct COM port is for your computer, and if you use multiple computers your COM port may be different on each.
So once you’ve entered the correct COM port, you’ll see a drop down list for the Vendor, and CHIRP supports a LOT of radio companies. The radio I’m plugging in here is a Baofeng.
Once you pick the vendor, the Model drop down will now be populated with a list of all the models CHIRP supports for that Vendor. Here, I’ve picked the UV-5R. My radio is actually a UV-5RA, but the UV-5R settings work for it too. Once done just click OK.
Next you are shown a warning message.
Basically it’s CHIRP’s way of saying “Use at your own risk”. Don’t worry about it, CHIRP has been used on hundreds of thousands, if not millions of these radios. I’ve personally programmed dozens of radios with CHIRP for myself and others, so you can safely click YES. You may want to click the “Do not show this next time” option first, so you won’t see this every time you update your radio.
Tim Dosen Agama Islam Universitas Negeri Malang. Menurut Cendikiawan -alumnus Universitas Zaitunah- Universitas menjadi peringkat terakhir dibandingkan dengan institusi lainnya di Maghrib Islam pada abad ke 14 dan 15. Download as PDF.Dalam kapasitas ganda sebagai universitas dan tempat ibadah, Masjid Zaitunah mengalami masa kejayaan sampai akhir masa pemerintahan Dinasti atau Banu Hafs (1237-1573/634-981 ). How to crack a software and make a keygen.
Next you will see a reminder on how to hookup your radio.
Basically, turn the radio off, hook it to the computer using the cable, then turn it on. Once you click OK, it will start transferring the data. You’ll see a small message showing you the progress, generally takes around 20 to 30 seconds.
When it’s done, the list of frequencies will open up inside CHIRP. (Click on the image below, or any of the images in this article, to open up a bigger version).
The first thing you should do is save what is there by using the File, Save menu option. This will save it as an IMG file. I generally use the radio vendor, then model, then the area where the frequencies are for. In this example it’s for Shelby County AL. After that I put the date I created the file. If I later go update it, I’ll do a Save As, and update the date. This lets me track changes over time, or go back to an older version if I need to.
Now you are ready to start entering frequencies. You can of course do it manually, typing each row supplying the data. You could also look up the frequencies online and cut/paste into CHIRP. Radio Reference (http://www.radioreference.com/) is a good site to look things up, but there are many you can pick from.
Even easier though is to use CHIRPs built in functionality. In the Radio menu is an option “Import from data source”. There is a list of multiple sites you can import from, each will let you search on a variety of things like your state, county, or zip code to find frequencies near you. Just be sure your cursor is sitting on empty row in the frequency list or else you may overwrite some of your existing frequencies.
The final option is to copy from an IMG file a friend with a similar radio has sent you. CHIRP will let you open up multiple IMG files at the same time, and display them as tabs across the top. You can just open their file and copy/paste into yours. You can copy just some of the rows or their entire frequency list.
Now that you have your frequencies loaded you’re almost, but not quite, ready to upload to the radio. If you look to the very left, there are two tabs. The Memories tab is what you are currently on. Now click on the Settings tab.
The overwhelming majority of settings you should leave alone unless you have a specific need. However there are a few you may wish to look at. Do note these are for the Baofeng, what you see on the Settings tab will change with each radio type.
On the Basic settings you’ll see Display Mode A and B. This indicates what is shown on the display. Your choices are Name, Frequency, and Channel. I tend to prefer Name as it shows the name (such as the repeater call sign), but you could alternately show the frequency of the repeater. I don’t find Channel very useful, but feel free to experiment and pick what you like.
As you will see it’s not big deal to make a change and re-upload to the radio. Note that you don’t have to import from the radio before you upload back to the radio every time. You can make a change, upload, then if you don’t like it make another change and just upload again. But more on uploading in a moment.
The other thing on for this radio you might want to look at is the background color for the display, this Baofeng can have three different background colors, and you can set the Standby, Receive (RX) and Transmit (TX) colors independently. Just for fun I use the different colors but use what works for you.
You can also enable or disable the Roger Beep using the check box at the bottom. Most hams find the beep annoying, so I suggest turning it off unless you are doing a lot of Simplex work.
Next click on the Advanced Settings.

The one thing I like to change here for the Baofeng’s is the voice. By default it is set to English. Every time you press a button or change to a different memory channel she (it’s a female voice) starts talking to you. Not only do I find this annoying, it also slows down the operation of the radio. I use the drop down to change this to OFF, but again it should be your preference.
As a final step in my setup process I click on the Other Settings tab.
At every meeting I go to there’s generally half a dozen people with Baofengs, so I change the Power-On Message to my call sign. This way when you turn on your radio, it displays the call sign of the owner.
There are several other tabs but these are really advanced items that I leave alone.
OK, now that you have your CHIRP image ready, it’s time to upload. A reminder though, make sure to do a File Save so your IMG file will be updated and should something catastrophic happen you won’t lose your hard work. (I’ve never had CHIRP crash, but I have had my home power go out on me. Oops.)
Vienna ensemble pro 7 review. If your radio still isn’t hooked up, turn it off, then plug it into the cable, then turn it on. From the Radio menu, pick Upload To Radio.
Now it’s just like the download. You are first prompted for the COM port, the vendor, and the Model. Once you click OK, you are given the reminder to turn off the radio, hook it up, turn the radio on, and click OK. After clicking OK you may see the message about it being an experimental driver, just click Yes to proceed.
Once you proceed you’ll see the Cloning Radio progress box as it uploads the data to your radio. When it’s done you’ll see your radio reset, and then you’re done! You are ready to start using your radio, just remember to unhook it from the programming cable before you try to use it.
Conclusion
The steps in this article should work for most radios, especially the critical steps at the beginning for fixing your Prolific driver. I want to remind you the Memories layout and Settings pages will be different for each radio, even radios from the same vendor.
Some manufacturers, for example, allow additional information in the memory columns such as geographic location. Others may not have multiple LED colors for the display.
With the information in this article though you should be able to navigate setting up most of the radios that CHIRP supports.