Gold Font Text Psd
Tutorial Preview
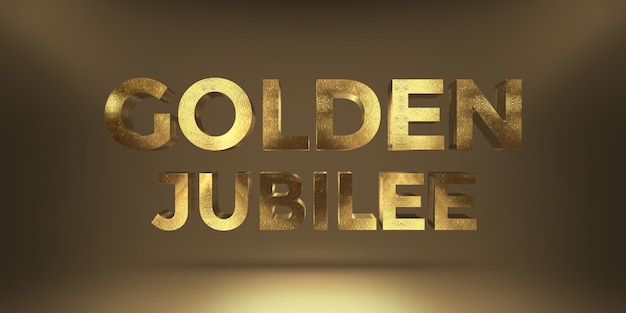
Download 3D Gold Text Effects for FREE. This 3D mockup makes it easy to make stunning luxury 3D gold and metal text in photoshop. How to Create Simple Gold Text in Photoshop. I used Times Bold with the font size set to 200px and text color to black. However, this text effect will work on.
Step 1: Create the Background
First, we’ll make a simple, complementary background for our gold text.
Open up Photoshop and create a new document by going to File > New (Ctrl+N/Cmd+N) with your desired image dimensions (mine is 1000x600px).
Fill the Background layer with a dark brown color (#211901).
Set your Foreground color to a yellow color (#fee86a).
Switch to the Brush Tool (B). Set up the Brush Tool with a large, soft brush (approximately 500px in size).
Apply the brush by clicking once at the middle of your canvas. Then change the layer’s Blend Mode to Vivid Light and set the layer’s Opacity to 50%.
Step 2: Add Text
Add some text using the Horizontal Type Tool (T). I used Times Bold with the font size set to 200px and text color to black. However, this text effect will work on most fonts, so feel free to use your preferred font. (Check out some free fonts by going to Design Instruct’s Font Collection category.)
Next, let’s start creating our gold text effect by adding layer effects.
Step 3: Gradient Overlay Layer Effect
To create a layer style, double-click on the text layer in the Layers panel. This will bring up the Layer Style dialog window.
Let’s set up the Gradient Overlay layer effect first. The settings I used are shown below.
Here’s the result of the Gradient Overlay layer effect we applied:
Step 4: Color Overlay Layer Effect
Next up, we’ll add the Color Overlay layer effect to our layer style.
This is how our text looks with the Color Overlay settings we applied:
Step 5: Bevel and Emboss Layer Effect
To give our gold text some depth, we’ll use the Bevel and Emboss layer effect. You can use image below as a reference for your settings.
As you can see, we now have a nice bevel and emboss effect:
Step 6: Inner Shadow Layer Effect
Let’s apply the Inner Shadow layer effect now.
Here’s our work with the Inner Shadow layer effect:
Step 7: Stroke Layer Effect
Next, to give the edges of our text some definition, we’ll add the Stroke layer effect.
Super Smash Bros. ROM download is available to play for Nintendo 64. This game is the US English version at EmulatorGames.net exclusively. Download Super Smash Bros. ROM and use it with an emulator. Play online N64 game on desktop PC, mobile, and tablets in maximum quality. Super Smash Bros. Ultimate Summary. Super Smash Bros. Ultimate (base game only) is currently only able to go into the main menus with no issue. Skip Intro Cutscene to load into the main menu. Stages load but there’s an issue about how bloom loads. Characters work fine but Yuzu crashes after the countdown ends on Smash Mode. Super Smash Bros. Is an online N64 game that you can play at Emulator Online. This free Nintendo 64 game is the United States of America region version for the USA. Super Smash Bros. Is a single title from the many fighting games, arcade games and action games offered for this console. _(v1.01)-1470869361.png)

Step 8: Drop Shadow Layer Effect
Apply the Drop Shadow layer effect by following the settings shown below.
Step 9: Outer Glow Layer Effect
The final layer effect we’ll add to our layer style is the Outer Glow — this will give our text some more depth.
Step 10: Save the Gold Text Layer Style (If You Want)
This step is optional. If you’d like to reuse this gold text effect layer style later on, you can save it in the Styles panel.
In the Layers panel, click on our text layer (which has the gold text layer style) just to make sure it’s the active layer.
Then open up the Styles panel (if you can’t see it, go to Window > Styles).
In the Styles panel, click on the Create new style button (it’s at the bottom of the panel).
This should open the New Style dialog window. Give it a memorable Name (e.g., 'Gold Text') and make sure that the Include Layer Effects option is checked.
Click OK and this new layer style will now be available to you any time!
Tutorial Summary
This tutorial showed us how powerful Layer Styles are. We produced gold text in a few minutes simply by applying layer effects. We also went through the process of saving your layer styles for use in other projects.
Here is the finished result:
Download Source Files
- gold_text_effect_photoshop (ZIP, 0.38 MB)
- Logos▼